
Part of it was also to think about how the front should be done, etc.
The enclosure itself is based on a simple wooden frame, I've put together.

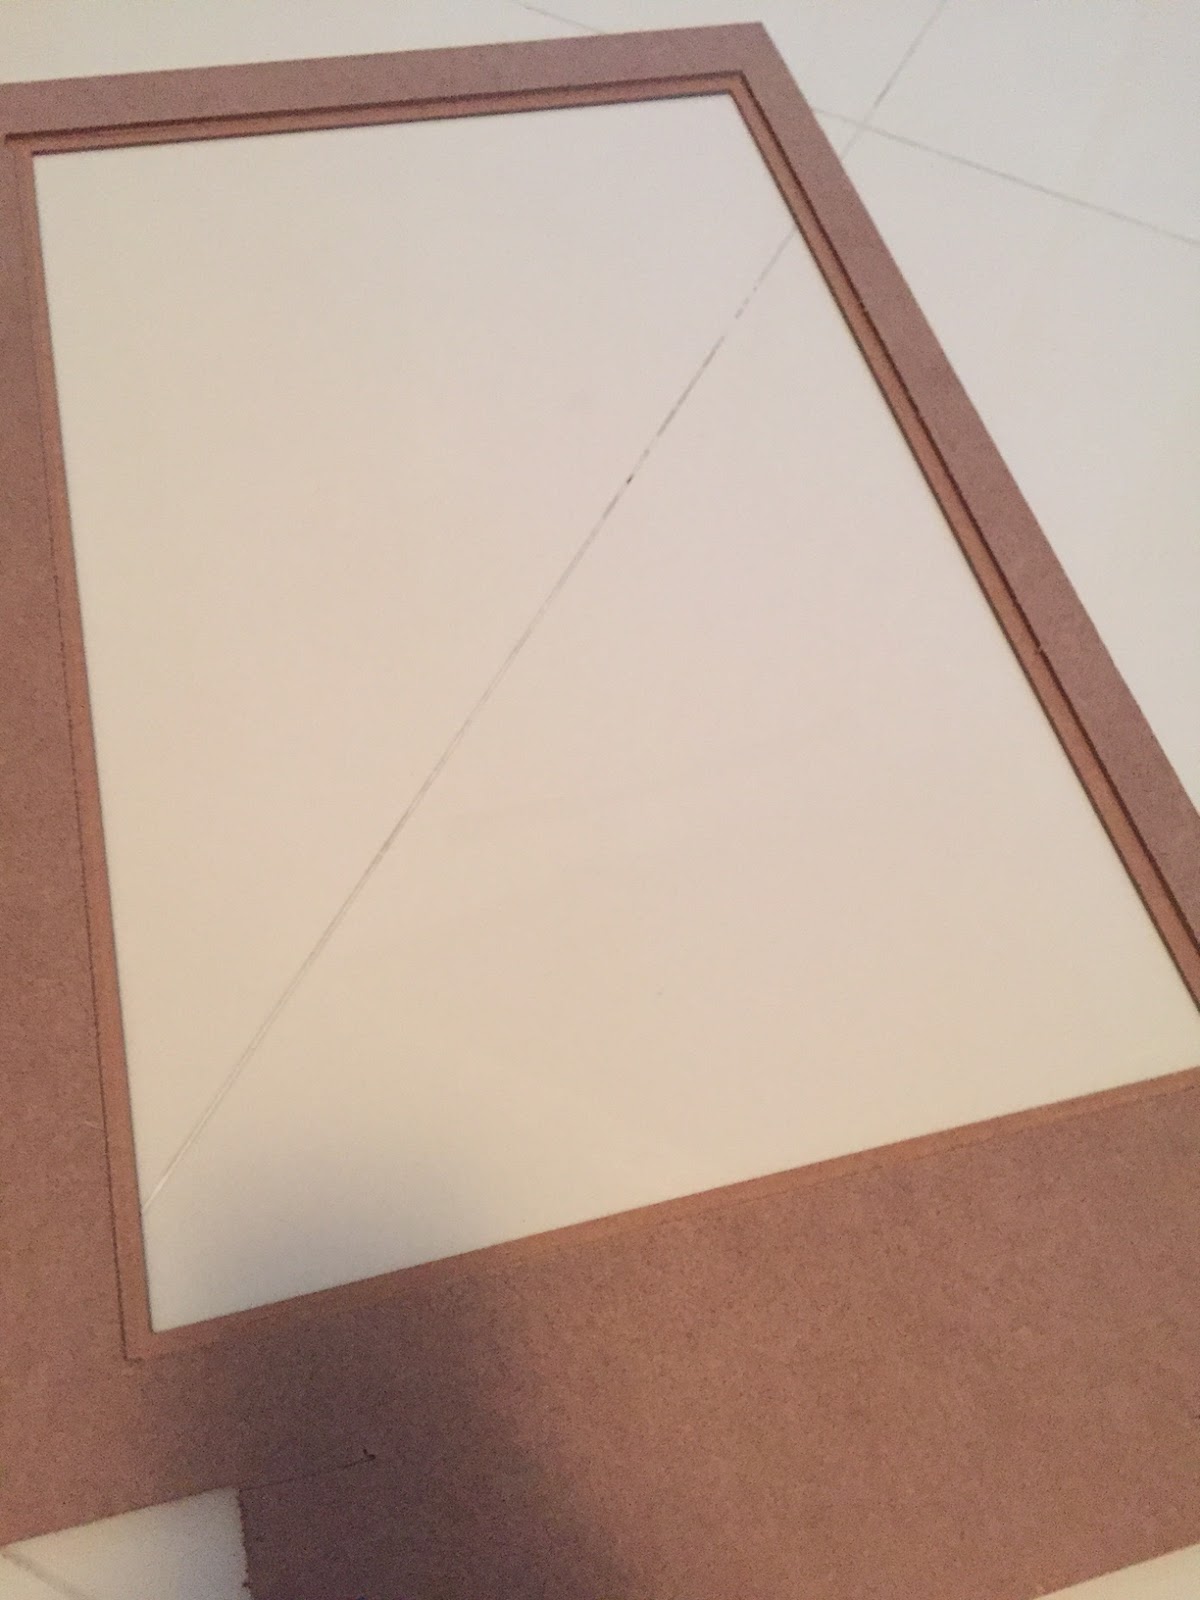
Much more difficult was cutting out the front plate. Using a circular saw wasn't precise enough. Also I wanted to have an indentation on the inner side of it, to make proper mounting of a plexi glass as front of the whole thing easier.
So using a router was the solution.

Just a hint - the whole router action wasn't as clean as it looks on the picture above. Make sure you have a strong vacuum cleaner - it's a mess of dust all over otherwise.
Results were precise enough to fit in the the front glass, including the indentation on the backside of it.

I also cut out openings for the coin acceptor and an opening where coins are getting paid out.

The front frame I've glued on the enclosure frame, as I didn't want to have any holes for screws in the front. The holes for the two buttons I've cut before. (just in case anything would have gone wrong with the button holes, I would not have needed to rip off the front panel from the enclosure frame...)
To get it as colorful and shiny as possible, I decided for a plexi glass front and also to put some fancy graphics together to make it look a bit more professional. The whole thing should become illuminated with lights from inside later on.
The pictures I've used for front glass I bought on shutterstock. The three little "windows" you see in there below are for showing the rotating discs with different symbols. I've put a test printout of the disc behind the upper left one, to get an idea how it will look later on.

(If someone wants to use similar pictures, you can find them on shutterstock here, here and here.)
Arranging everything and putting in front of a colorful background I did with Libre Office Draw.
The front panel picture is simply split into 4 parts, printed out on letter format and then pasted together on the front glass. Sounds easier than it was actually, but in the end the result was acceptable even that it wasn't printed in one piece.

Before mounting the front glass the coin acceptor goes into the upper left corner. So coins can drop directly into the funnel of the coin hopper, which sits on the bottom of the enclosure.

I was considering to build both myself, but meanwhile you can find such devices for prices between 15-20USD online, so it doesn't make a lot of sense really. The coin acceptor comes with a digital out, indicating what value the recognized coin had. One can configure it before for use of up to 4 different types of coins, depending on the specific model. I bought the electronic one, but there are even cheaper mechanical versions of coin acceptors as well.
Similar the coin hopper can be operated very easily: it has an electric engine which let it constantly dispense coins and there is a digital out, sending a signal for each coin ejected. So after reaching the right amount of coins, one can simply stop the engine.

After all this endless wood cutting, glueing and hammering the next episode will be about mounting the stepper motors, lights etc inside of the enclosure. Stay tuned. :-)
Comments
Post a Comment